接口限流是项目中常见的需求,也就是为了限制项目中的某一个接口在一段时间没进行频繁访问,导致我们系统崩溃。 本文主要介绍
redis+lua进行接口限流。
一、搭建
1.1、创建一个自定义限流注解
- 代码
java
import java.lang.annotation.*;

/**
 * @Description: 自定义竹节实现分布式限流
 * @Author: Guo.Yang
 * @Date: 2023/09/22/10:47
 */

@Target(value = ElementType.METHOD)
@Retention(RetentionPolicy.RUNTIME)
@Documented
public @interface RedisLimitStream {
    /**
     * 请求限制,一秒内可以允许好多个进入(默认一秒可以支持100个)
     * @return
     */
    int reqLimit() default 100;

    /**
     * 模块名称
     * @return
     */
    String reqName() default "";
}- 参数说明
reqLimit限流个数,一秒能进来的请求个数,默认100个reqName模块名称
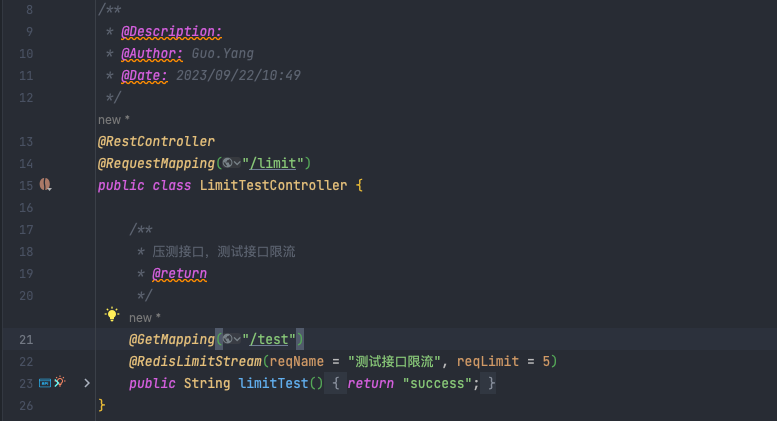
1.2、创建一个测试Controller
- 代码
java
import com.yang.redisboot.currentlimit.annotation.RedisLimitStream;
import org.springframework.web.bind.annotation.GetMapping;
import org.springframework.web.bind.annotation.RequestMapping;
import org.springframework.web.bind.annotation.RestController;

/**
 * @Description:
 * @Author: Guo.Yang
 * @Date: 2023/09/22/10:49
 */
@RestController
@RequestMapping("/limit")
public class LimitTestController {

    /**
     * 压测接口,测试接口限流
     * @return
     */
    @GetMapping("/test")
    @RedisLimitStream(reqName = "测试接口限流", reqLimit = 5)
    public String limitTest(){
        return "success";
    }
}
1.3、创建一个限流的lua脚本
- limit.lua
lua
local key = KEYS[1] --限流KEY(一秒一个)
local limit = tonumber(ARGV[1]) --限流大小
local current = tonumber(redis.call('get', key) or "0")
if current + 1 > limit then --如果超出限流大小
    return false
else --请求数+1,并设置2秒过期
    redis.call("INCRBY", key, "1")
    redis.call("expire", key, "2")
end
return true将lua脚本放在项目中的resources目录下
- 说明
KEYS[1]用来表示在redis 中用作键值的参数占位,主要用來传递在redis 中用作keyz值的参数。ARGV[1]用来表示在redis 中用作参数的占位,主要用来传递在redis中用做 value值的参数。INCRBYredis操作,将key以指定数量进行增加expireredis操作,将key设置过期时间
1.4、创建一个配置类,在启动的时候将我们的lua脚本代码加载到redisscript中
java
import org.springframework.context.annotation.Bean;
import org.springframework.context.annotation.Configuration;
import org.springframework.core.io.ClassPathResource;
import org.springframework.data.redis.core.script.DefaultRedisScript;

/**
 * @Description: 将lua脚本加载到RedisScript中
 * @Author: Guo.Yang
 * @Date: 2023/09/22/10:49
 */
@Configuration
public class RedisConfiguration {

    /**
     * 初始化将lua脚本加载到redis脚本中
     * @return
     */
    @Bean
    public DefaultRedisScript loadRedisScript() {
        DefaultRedisScript redisScript = new DefaultRedisScript();
        redisScript.setLocation(new ClassPathResource("limit.lua"));
        redisScript.setResultType(Boolean.class);
        return redisScript;
    }
}
1.5、创建限流Aop,拦截相关包下的接口
java
import com.yang.redisboot.currentlimit.annotation.RedisLimitStream;
import lombok.extern.slf4j.Slf4j;
import org.aspectj.lang.ProceedingJoinPoint;
import org.aspectj.lang.annotation.Around;
import org.aspectj.lang.annotation.Aspect;
import org.aspectj.lang.annotation.Pointcut;
import org.aspectj.lang.reflect.MethodSignature;
import org.springframework.beans.factory.annotation.Autowired;
import org.springframework.data.redis.core.RedisTemplate;
import org.springframework.data.redis.core.script.RedisScript;
import org.springframework.stereotype.Component;
import org.springframework.util.ObjectUtils;
import javax.servlet.http.HttpServletResponse;
import java.io.PrintWriter;
import java.util.ArrayList;
import java.util.List;
/**
* @Description: MyRedisLimiter注解的切面类
* @Author: Guo.Yang
* @Date: 2023/09/22/10:49
*/
@Aspect
@Component
@Slf4j
public class RedisLimiterAspect {
/**
* 当前响应请求
*/
@Autowired
private HttpServletResponse response;
/**
* redis服务
*/
@Autowired
private RedisTemplate<String,Object> redisTemplate;
/**
* 执行redis的脚本文件
*/
@Autowired(required = false)
private RedisScript<Boolean> rateLimitLua;
/**
* 对所有接口进行拦截
*/
@Pointcut("execution(public * com.yang.redisboot.currentlimit.controller.*.*(..))")
public void pointcut(){}
/**
* 对切点进行继续处理
*/
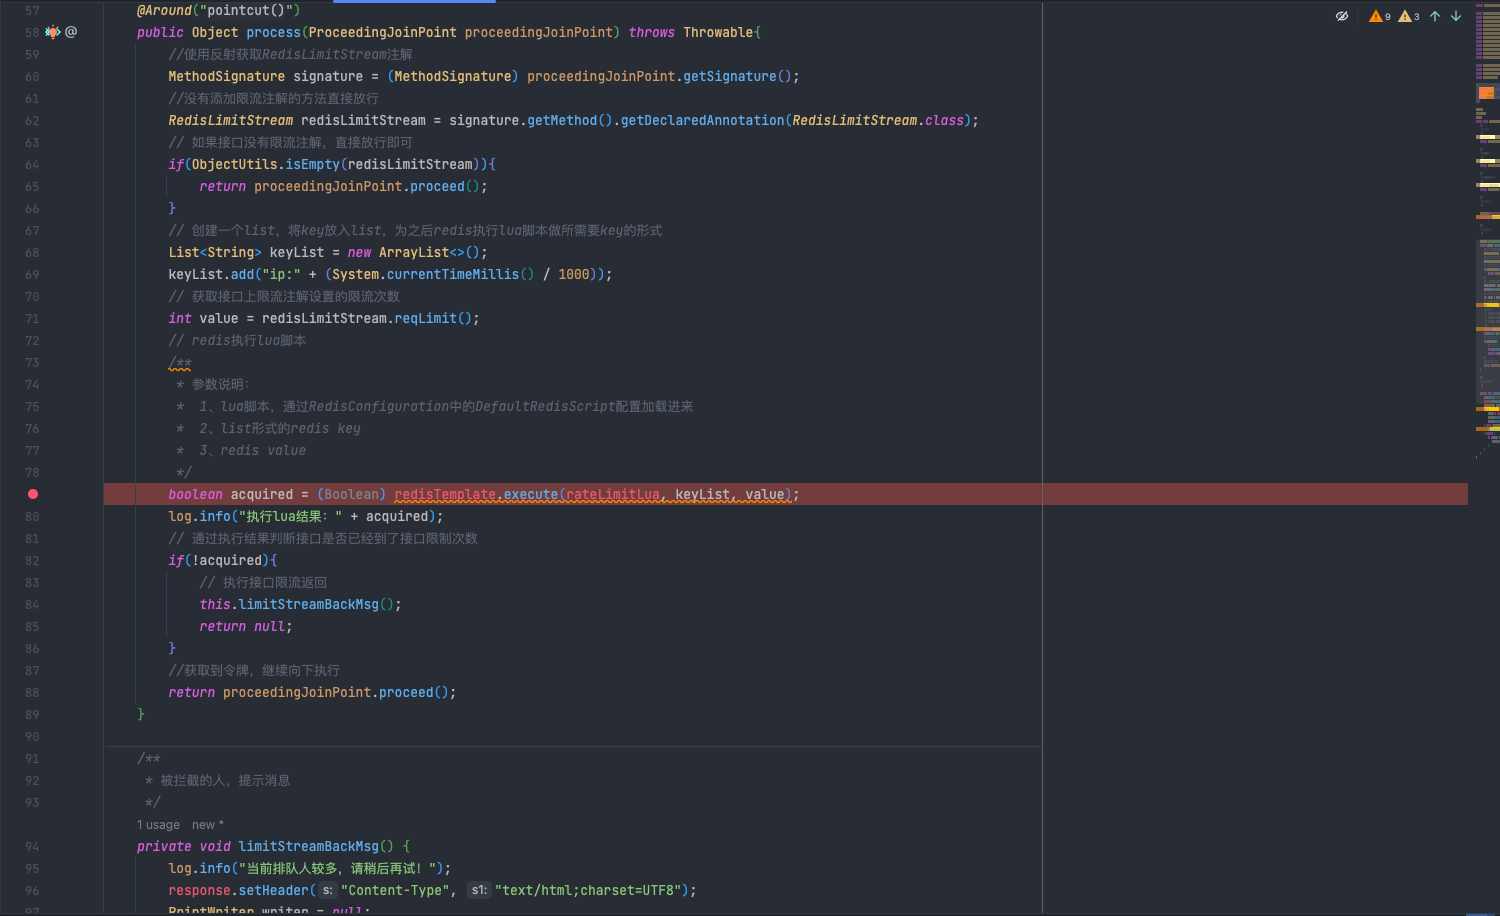
@Around("pointcut()")
public Object process(ProceedingJoinPoint proceedingJoinPoint) throws Throwable{
//使用反射获取RedisLimitStream注解
MethodSignature signature = (MethodSignature) proceedingJoinPoint.getSignature();
//没有添加限流注解的方法直接放行
RedisLimitStream redisLimitStream = signature.getMethod().getDeclaredAnnotation(RedisLimitStream.class);
// 如果接口没有限流注解,直接放行即可
if(ObjectUtils.isEmpty(redisLimitStream)){
return proceedingJoinPoint.proceed();
}
// 创建一个list,将key放入list,为之后redis执行lua脚本做所需要key的形式
List<String> keyList = new ArrayList<>();
keyList.add("ip:" + (System.currentTimeMillis() / 1000));
// 获取接口上限流注解设置的限流次数
int value = redisLimitStream.reqLimit();
// redis执行lua脚本
/**
* 参数说明:
* 1、lua脚本,通过RedisConfiguration中的DefaultRedisScript配置加载进来
* 2、list形式的redis key
* 3、redis value
*/
boolean acquired = (Boolean) redisTemplate.execute(rateLimitLua, keyList, value);
log.info("执行lua结果:" + acquired);
// 通过执行结果判断接口是否已经到了接口限制次数
if(!acquired){
// 执行接口限流返回
this.limitStreamBackMsg();
return null;
}
//获取到令牌,继续向下执行
return proceedingJoinPoint.proceed();
}
/**
* 被拦截的人,提示消息
*/
private void limitStreamBackMsg() {
log.info("当前排队人较多,请稍后再试!");
response.setHeader("Content-Type", "text/html;charset=UTF8");
PrintWriter writer = null;
try {
writer = response.getWriter();
writer.println("{\"code\":503,\"message\":\"当前排队人较多,请稍后再试!\",\"data\":\"null\"}");
writer.flush();
} catch (Exception e) {
e.printStackTrace();
} finally {
if (writer != null) {
writer.close();
}
}
}
}到此为止限流方案就算是搭建完毕了,目录结构如下 
二、测试
- 测试工具api post
- 为了方便测试,接口限流注解设置成一秒限制为5个流量
- 压力测试,1秒6个流量

- 测试结果
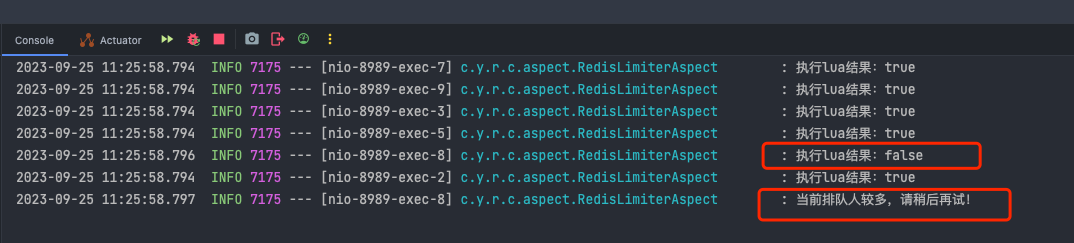 5个成功,1个失败,限流成功。